
Backhoe Contribution spikeyxxx-finalizing my parts
Forum Archive › Backhoe Contribution spikeyxxx-finalizing my parts
- This topic has 12 replies, 3 voices, and was last updated 5 years, 10 months ago by
spikeyxxx.
-
AuthorPosts
-
October 26, 2020 at 10:16 am #12997
As my tires are way too blank, I started on some text, to be more precise, I started with trying to make a Spikey logo, that would fit on the tires, but also on my other parts…
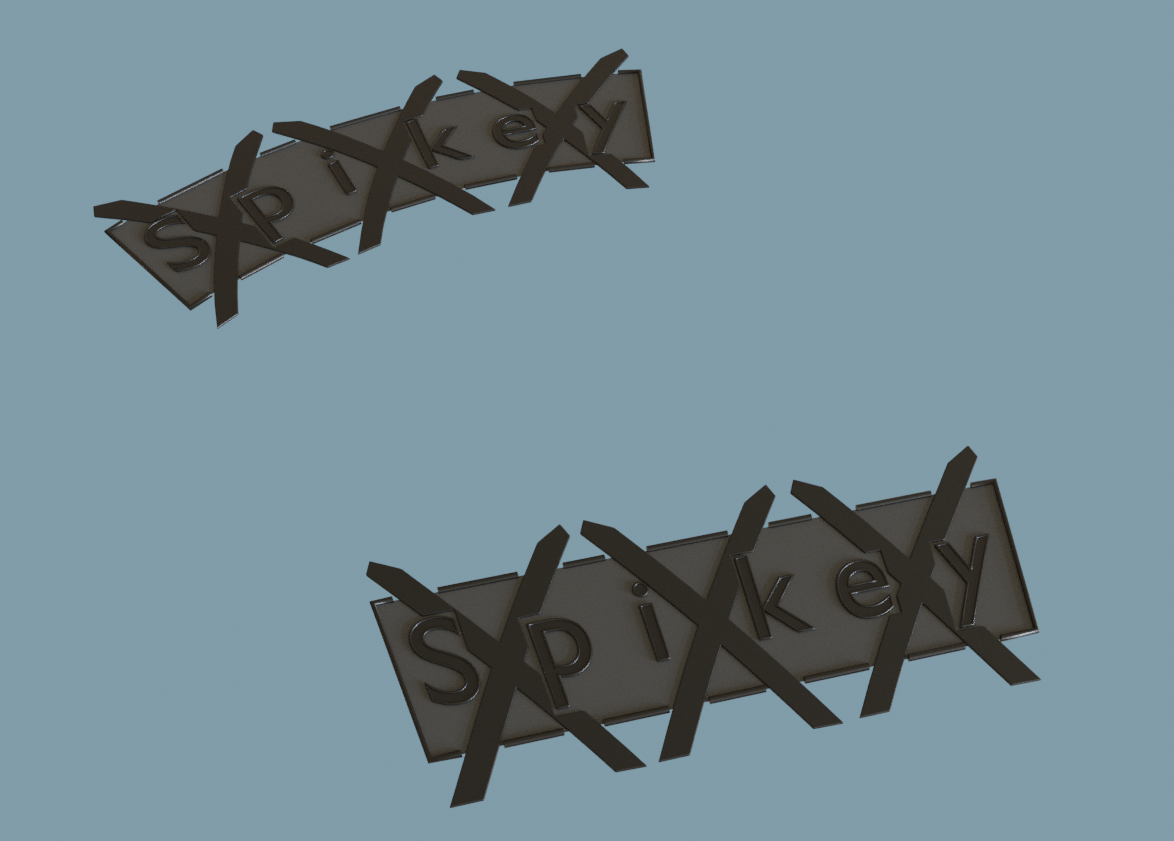
That is extremely hard! But for being a total noob at graphic design…,well look for yourselves: a “straight” version with a Lattice Modifier and one with a Curve Modifier for the tires:
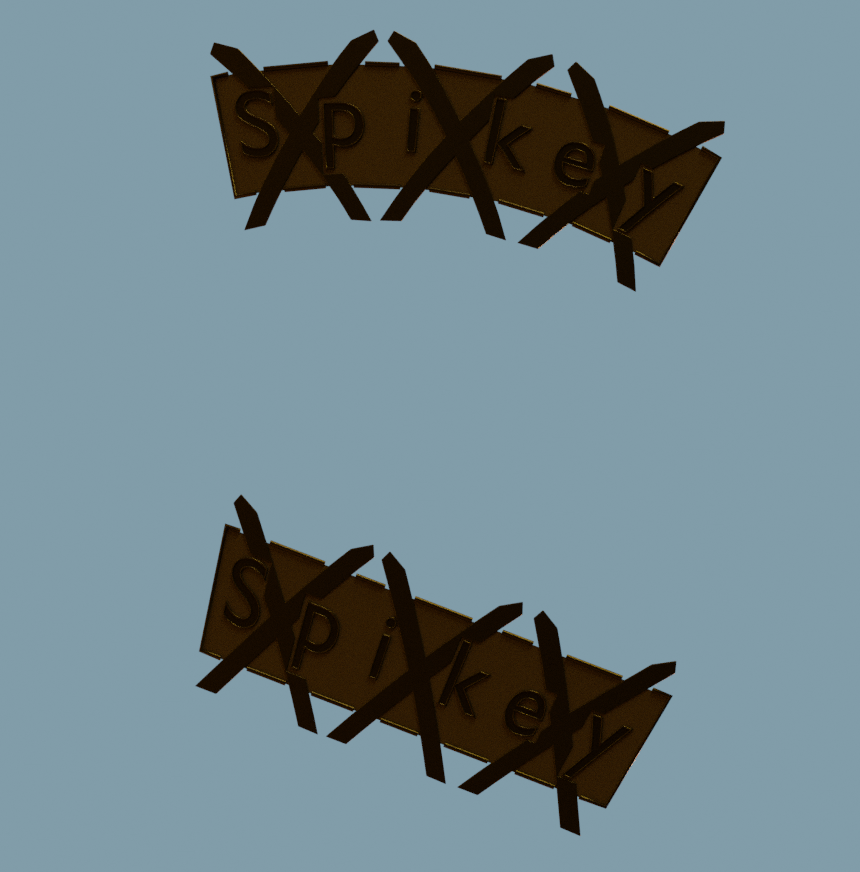
and with a different HDRI:
 October 27, 2020 at 3:09 pm #61157
They would look so cool on the wall of the tyres, that’s a great idea @spikeyxxx
October 28, 2020 at 9:01 am #61158A worthy logo @spikeyxxx. I really like the curved triple X on the tire one. I wonder if you could get that effect on the straight one too?
October 28, 2020 at 12:34 pm #61159I like that too Shawn, but it’s due to the Curve Modifier…I could of course get that on the straight version as well, no problem 🙂
I’m still wondering what else to put on the tires…I know what info goes on ‘normal’ vehicle tires, but not on those…
Also, maybe the straight one should be flat and coloured, like a sticker…
Maybe I’m just overthinking this 🙂
October 28, 2020 at 12:48 pm #61160Just in case you’ve been wondering how to get this ‘edge’ around letters;
try this yourself if you haven’t already, before reading how I did it…
October 28, 2020 at 12:59 pm #61161There are two kinds of letters: ones without a hole and ones with…I’ll show both:


I like to keep the original, to later fill in the letters…
Select a letter without a hole and press F:

Select one with (a) hole(s) and press X > Limited Dissolve:


Select the inner edges that remained and X > Delete:
Select what’s left of the letter:

And press F to fill:
Then add a Wireframe Modifier, with Boundary:

You can add a Subsurf after that if you want, but you’ll have to check Crease Edges in the Wireframe Modifier!
As you still have the original, you can unhide that…
October 28, 2020 at 2:18 pm #61162Another fun thing you could do is use my new favorite modeling tool. Curves!
Text can be directly converted to curves and you can change the fill mode to none on the curve properties panel. What’s even cooler is you can pick your own bevel curve as an object to provide the similar (or more unique) thickness around the edges. It feels a little less destructive and more procedural and has more of that Spikey tire flare!

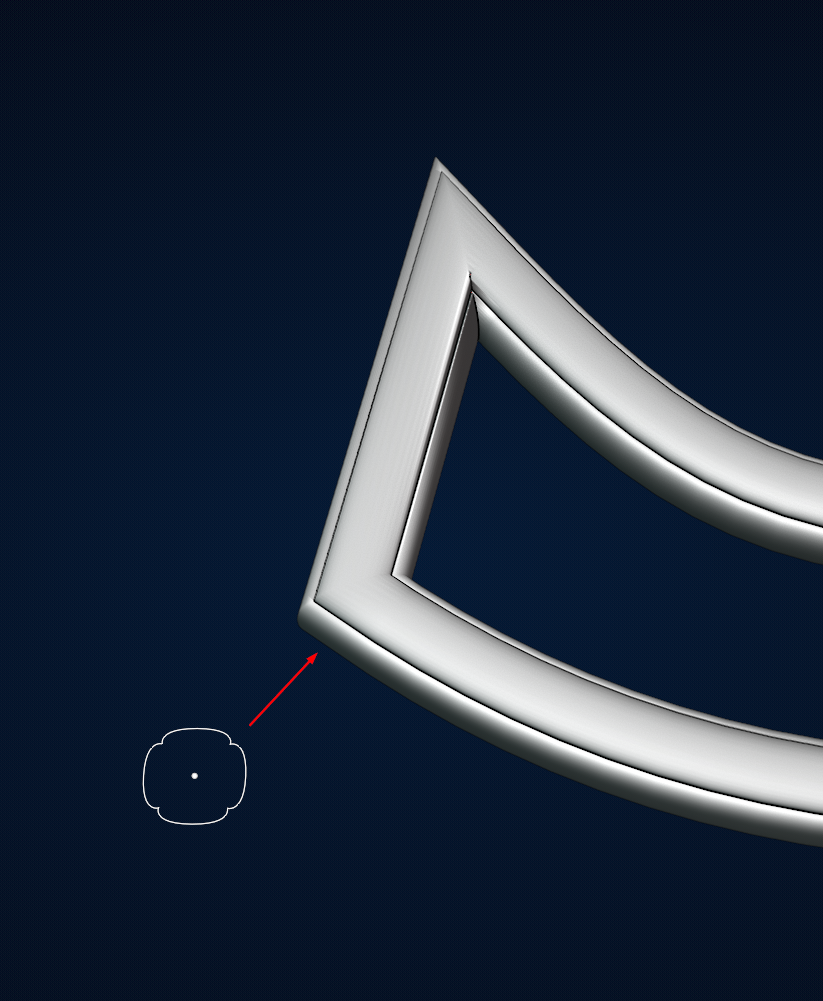 If only “Convert to Curve” was a modifier! That would be the ultimate win for this.October 28, 2020 at 2:21 pm #61163
There’s a million ways to do things in blender. I love this program.
October 28, 2020 at 2:36 pm #61164Wow! That is even simpler!
But….
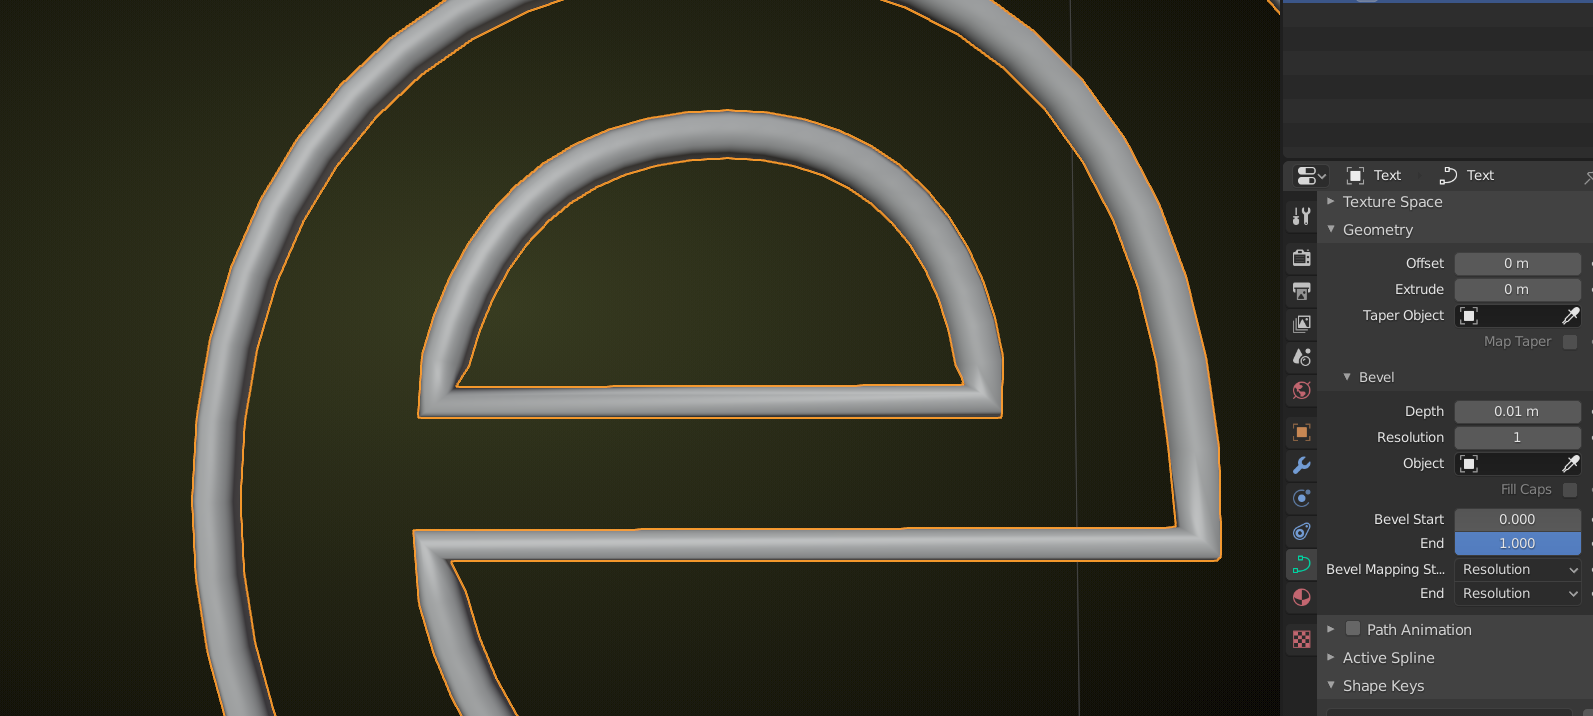
compared to
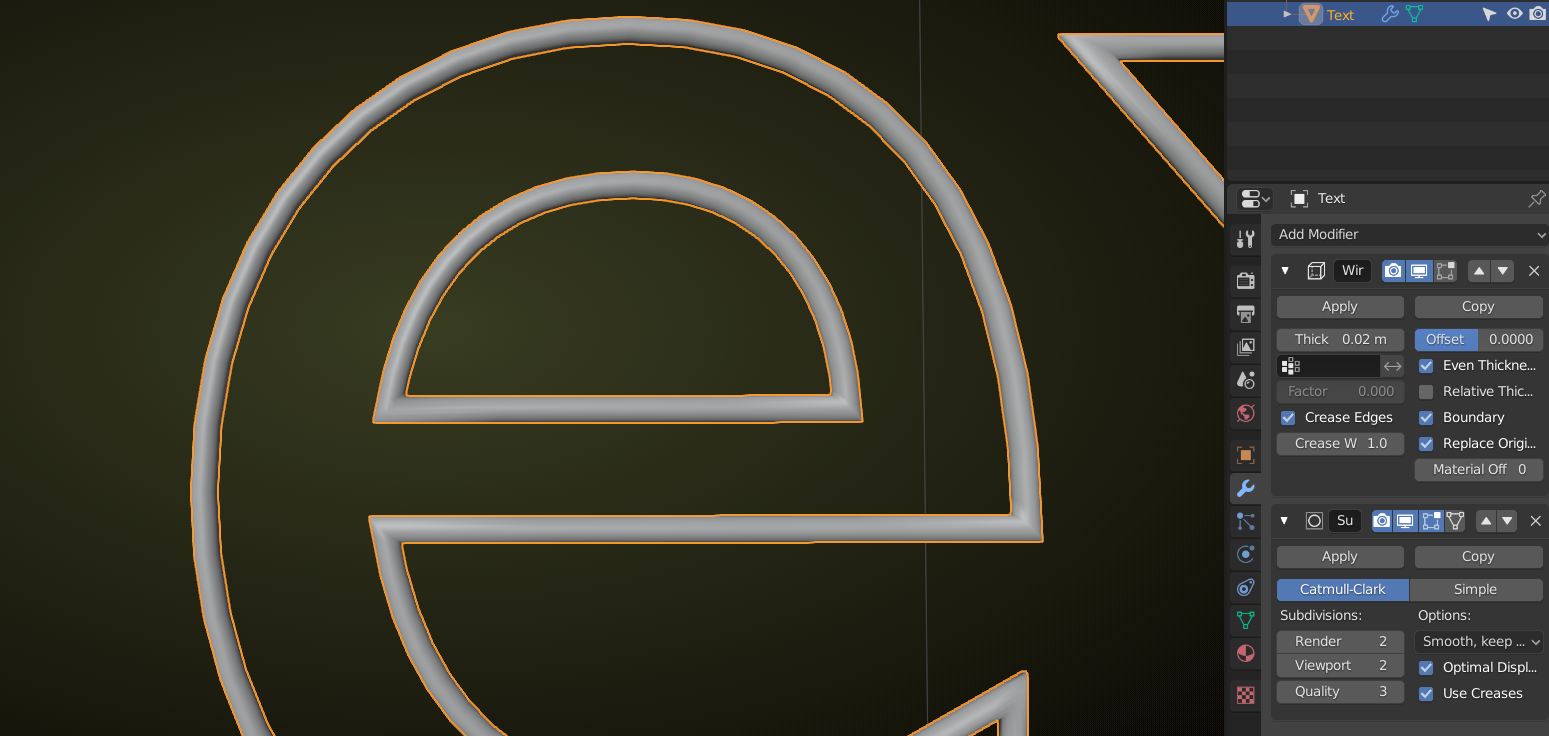
Your way is a lot easier, but when you need more accuracy…
Anyway, like you said: many options to do things in Blender!
October 28, 2020 at 4:42 pm #61165Hmmmm….. That’s funny I don’t see that happening unless you are adding a Sub-D modifier to the curve perhaps? (P.S. it looks terrible out of the gate with sub-D applied on basic text converted to curves)
If you need crisper resolution you can change the Render U Resolution between bezier vertices. And the bevel resolution will adjust the resolution of the cross section (unless you add in a bevel object then it’s own Render U resolution should set that up if I understand it correctly).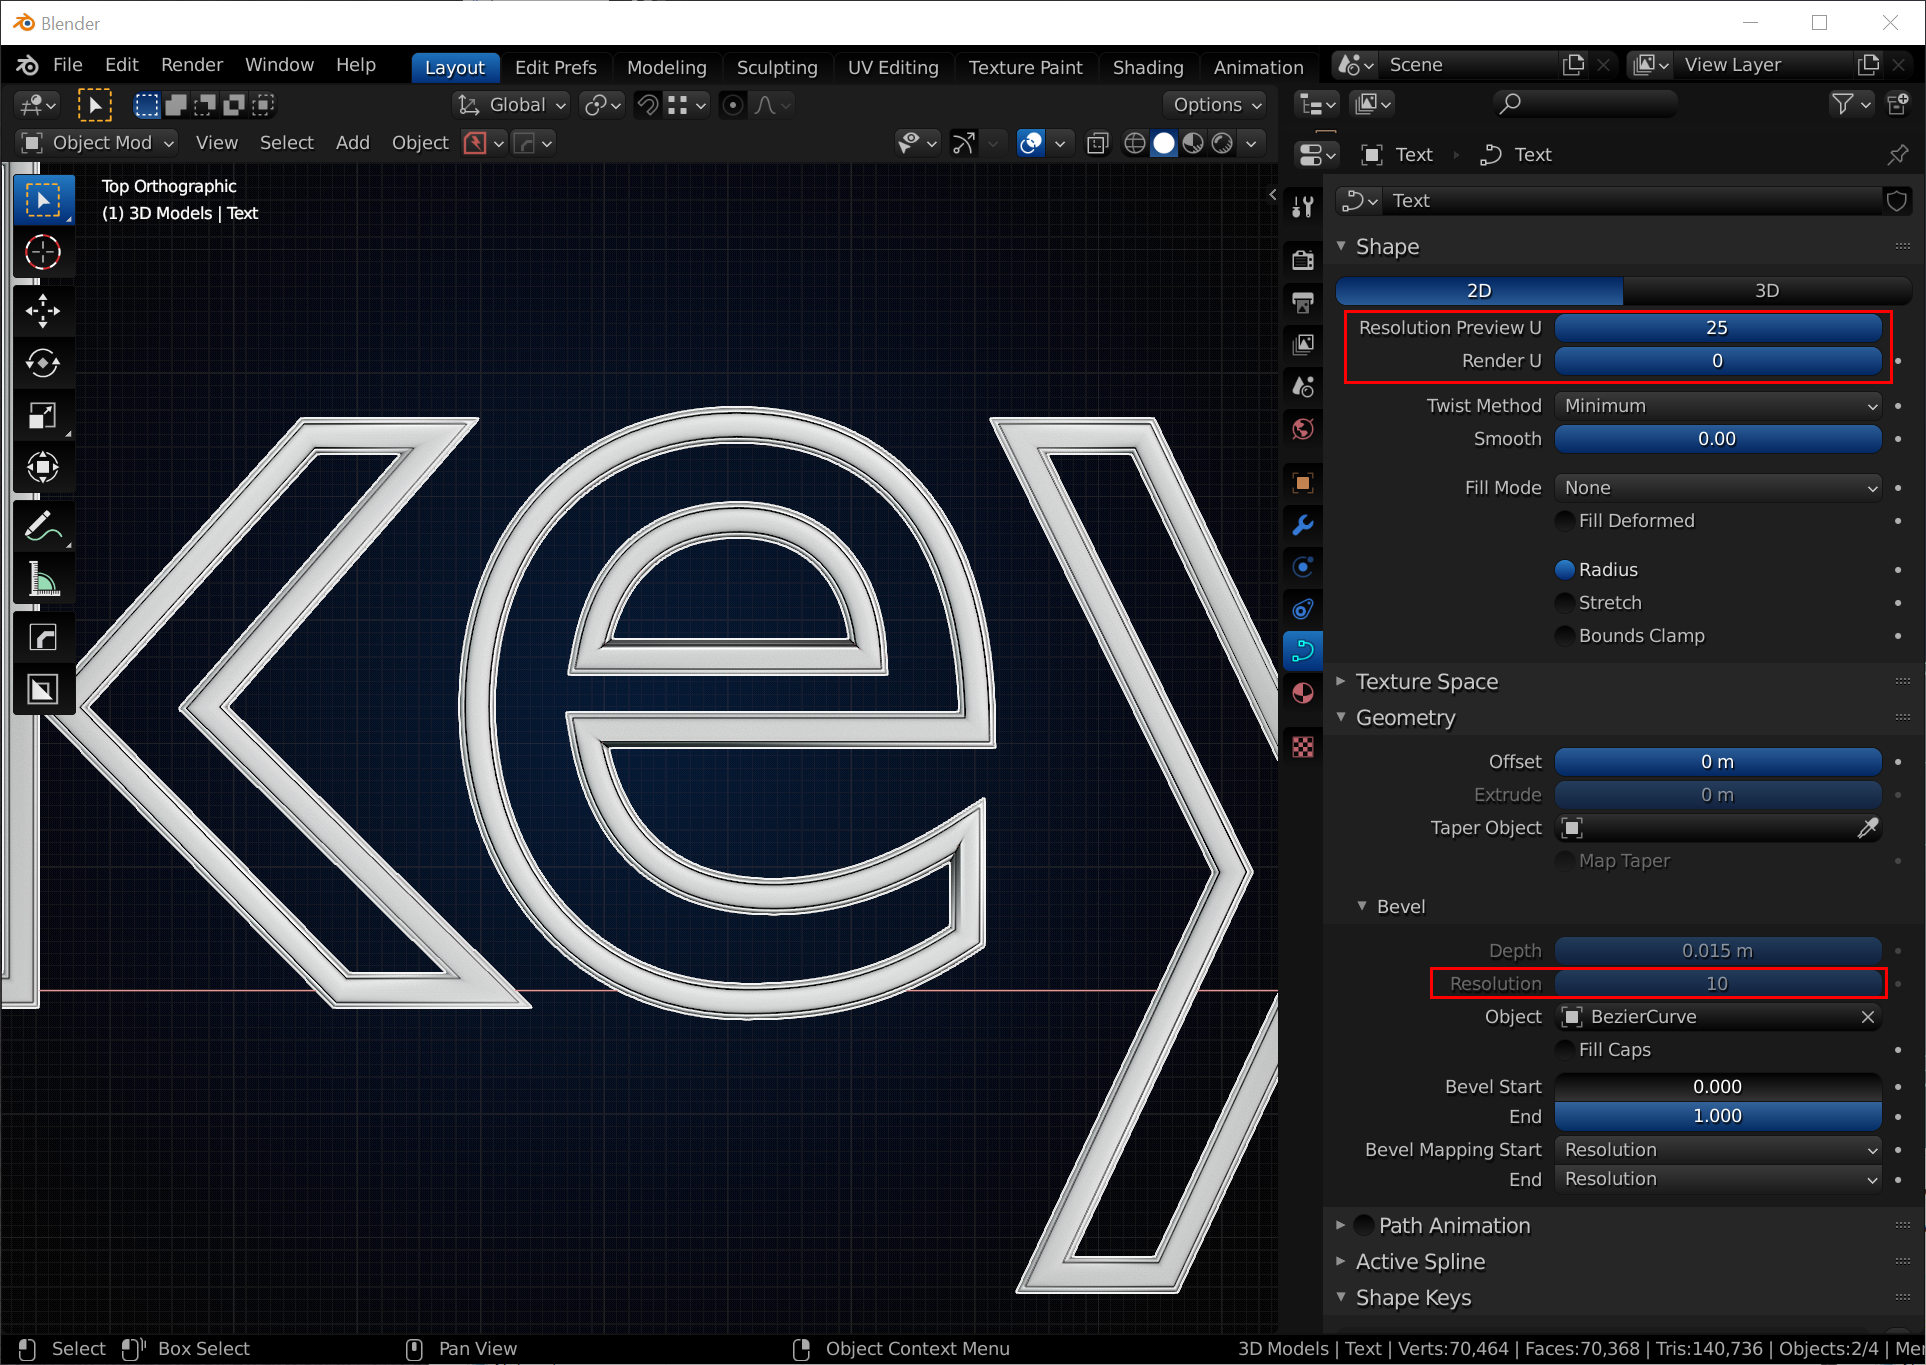
But again, not saying you have to use this way. I just love using curves whenever I can now haha.
October 28, 2020 at 5:05 pm #61166Strange indeed! Tried it again with the same settings and the result was smooth this time…
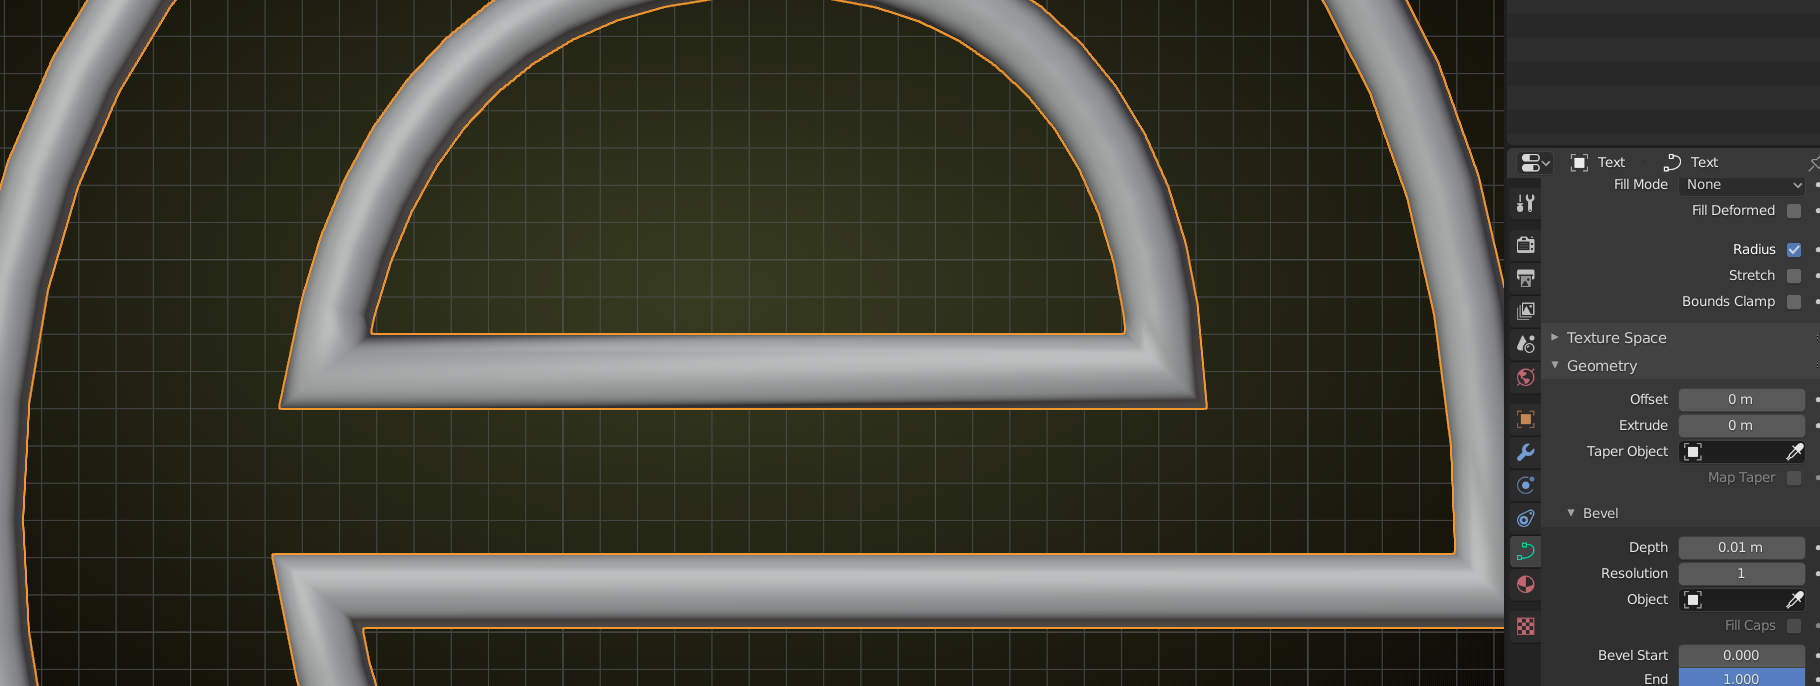
Curves for the win!
October 28, 2020 at 6:16 pm #61167Another side note. If the vertex handles are set to vector (they should be by default when converting text to curve) then you can do some subdivisions and move segments fairly easily and the vector handles resize nicely.
Notice how I did this with the X in the word text.
I highly recommend converting text to curves as opposed to converting text meshes to curves. There are too many vertices and you end up getting that weird non-uniform thickness in some cases. Although it may be possibly fixed by setting the handles using the V key to be vector aligned.
October 29, 2020 at 1:17 am #61168 -
AuthorPosts


- The topic ‘Backhoe Contribution spikeyxxx-finalizing my parts’ is closed to new replies.